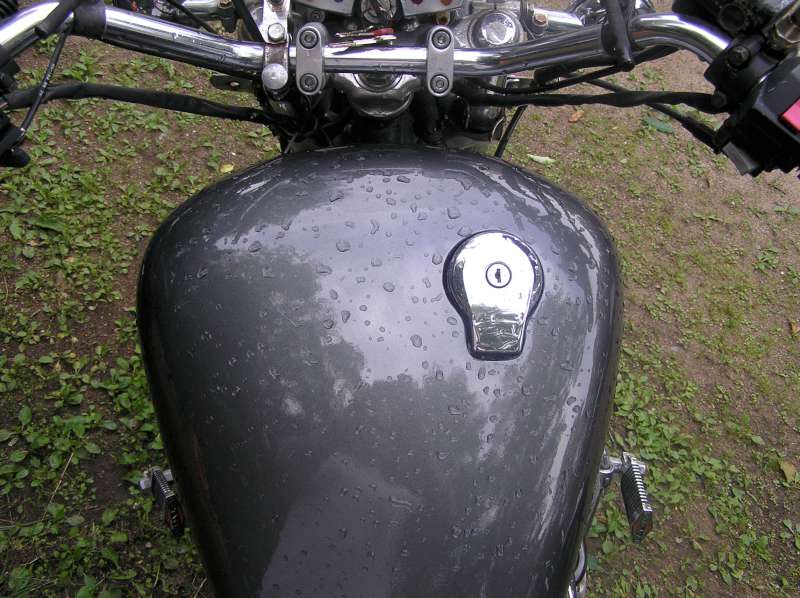
The Maxim X tank is a little on the small side. So when I had to repair a big dent as part of a restoration project anyway, I thought I'd address the size too. I didn't want to ruin the classic lines of the X tank, so after much debate, I decided to widen it a few inches, leaving the profile intact. The first step was to layout the planned cut with narrow masking tape. Normally used for things like pinstriping, it follows curves quite nicely. 
Once I was satisfied, I did the old Hardy Boys pencil trick on some paper to make a mask for the filler metal. Then I shifted the paper by the amount I wanted to widen the tank and did it again. Repeat for other side. 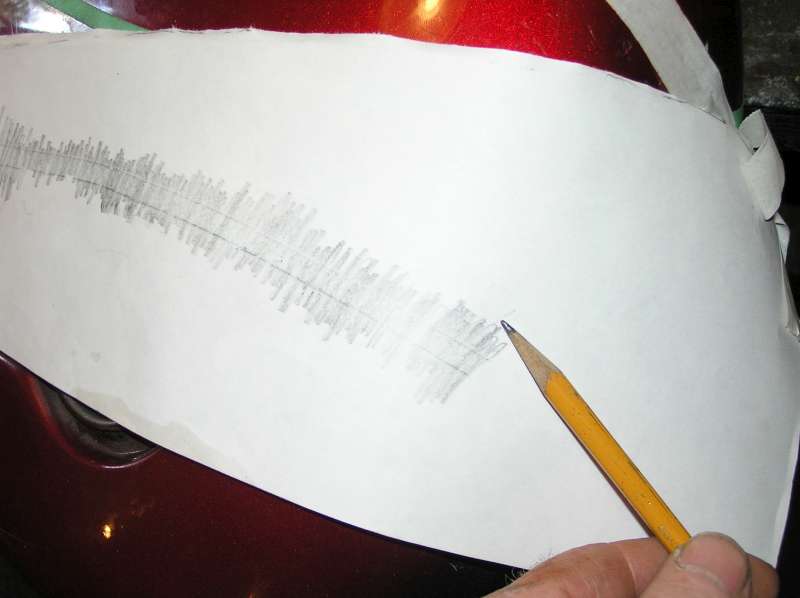
An old car hood was just the right gauge for the tank. The paper was cut out then laid flat to mark the metal... 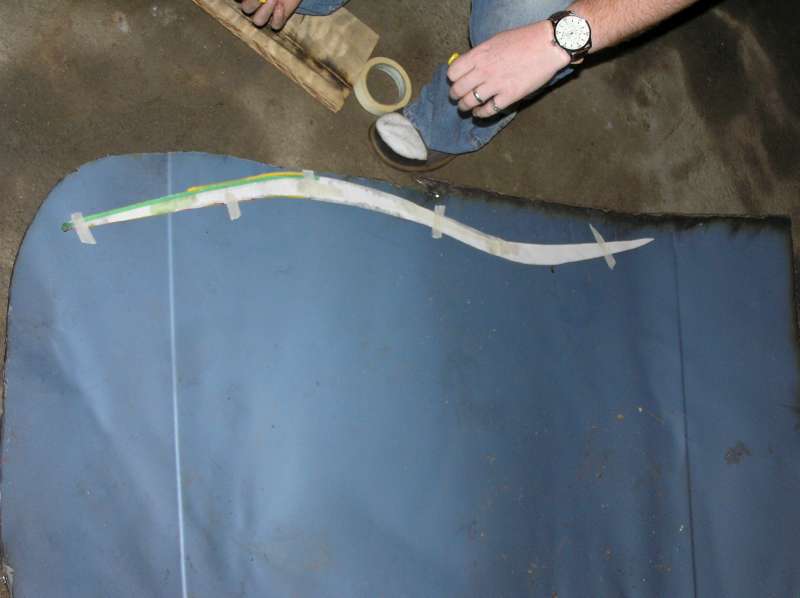
... and the tank was laid open along the cut line. I left a tiny bit of metal intact at the narrow point to ensure alignment. 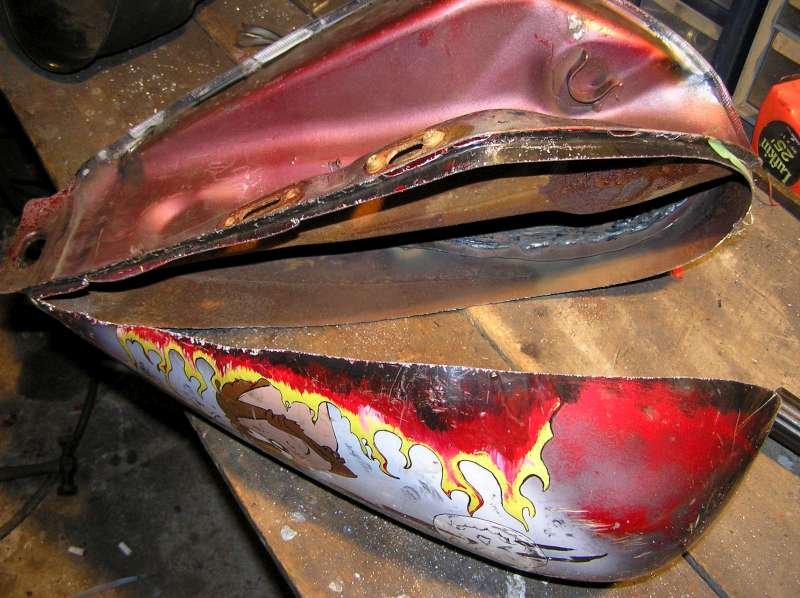
Once the filler strip was cut, it had to be curved to fit the curve of the tank. It is very easy to confuse which end is up at this stage! 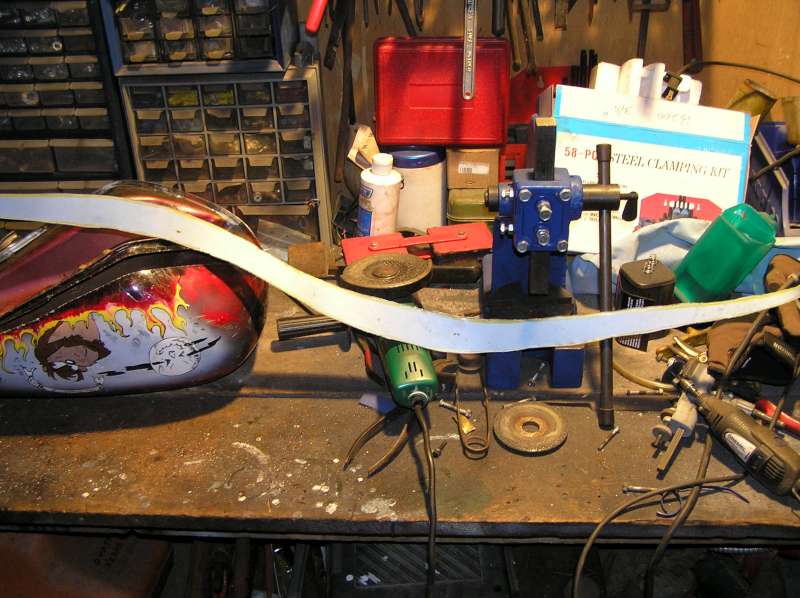
The edges were then treated with a pneumatic panel raising tool to recess the underlap. 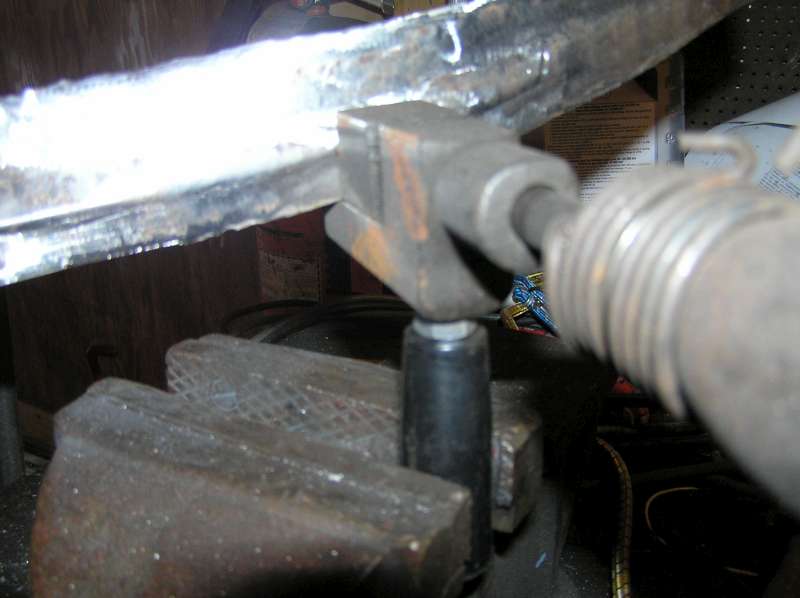
It took a lot of clamps to position things exactly right. 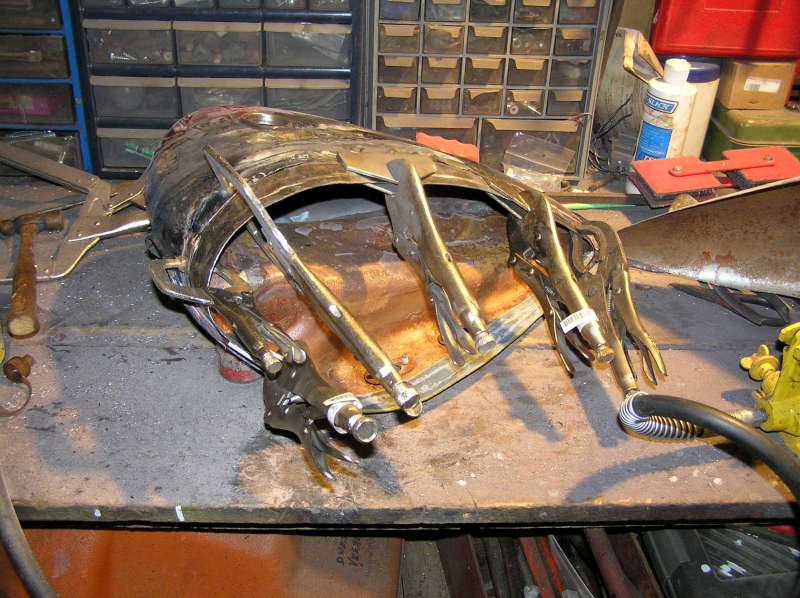
Once in position, the filler was tacked every few inches to keep it there while the other side was fitted into place. 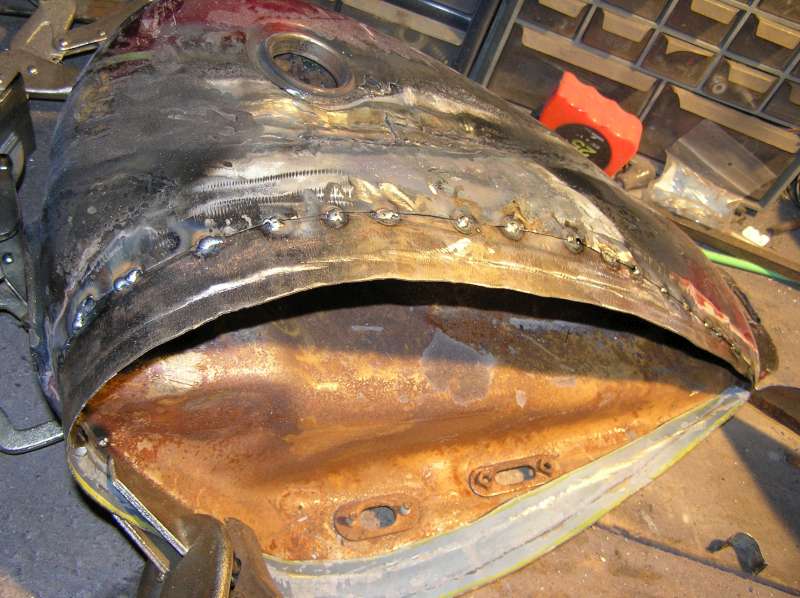
Ok, how do you clamp the other side? A ratchet strap or two did the job quite admirably: 
Not quite perfectly though. Welding distorts metal, especially thin metal. To close this gap a small tab was first tacked to the filler strip... 
Then the temporary tab was pulled with pliers to close the gap and things were tacked in place before the tab was ground off. 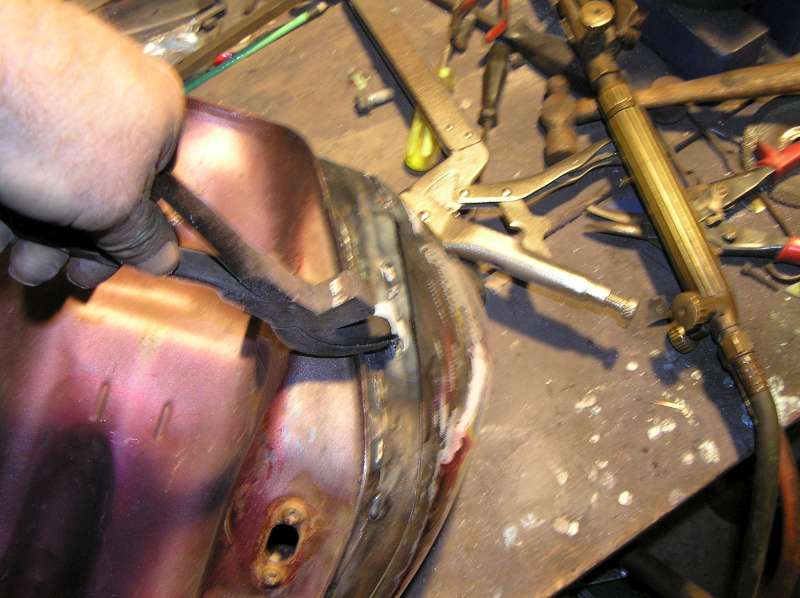
The seam was then welded between the tacks, running short beads alternately on opposite sides and ends to minimize distortion. Here is a before-and-after comparison of the widened side and the original. Of course, the entire process was then repeated on the opposite side. 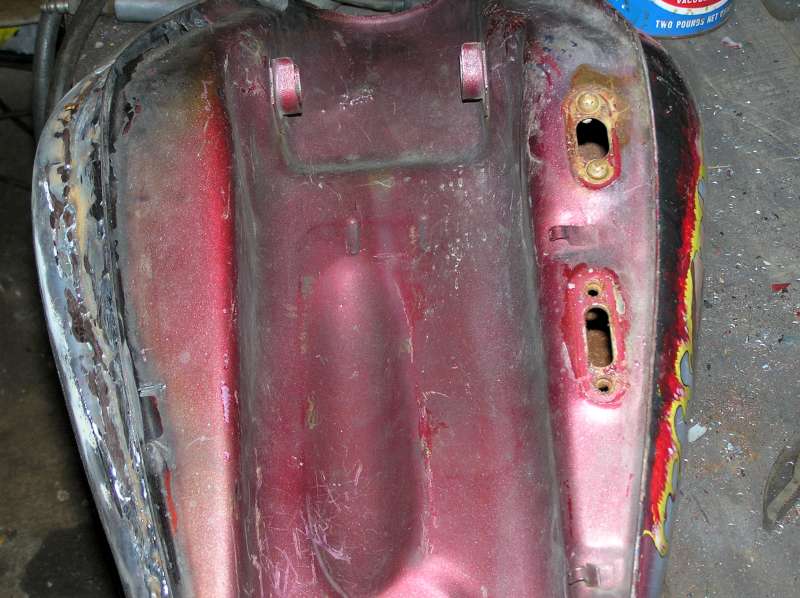
The welds were pressure tested to 15psi. I'd love to say my welds were perfect, but I'd be lying. Soap and water solution pinpointed the pinpoints, which were marked, ground and re-welded. Once it was pressure-tight, the tank was de-rusted and coated with POR-15 to preserve the interior until the end of time. I hope. Then it's all down to standard bodywork to smooth things out. "Kitty hair" fiberglass went down first, followed by bondo. Sand and repeat, time and again. Compound curves are tricky!
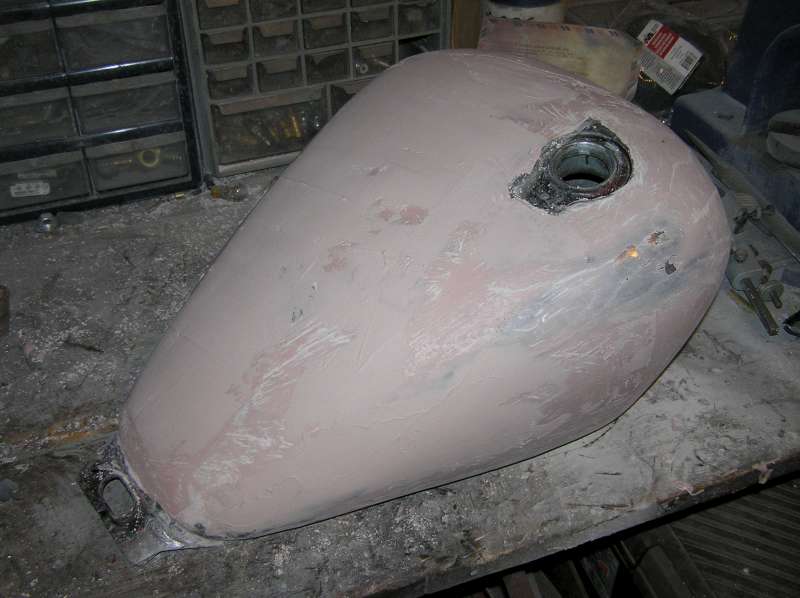
And here it is, ready for primer and paint: 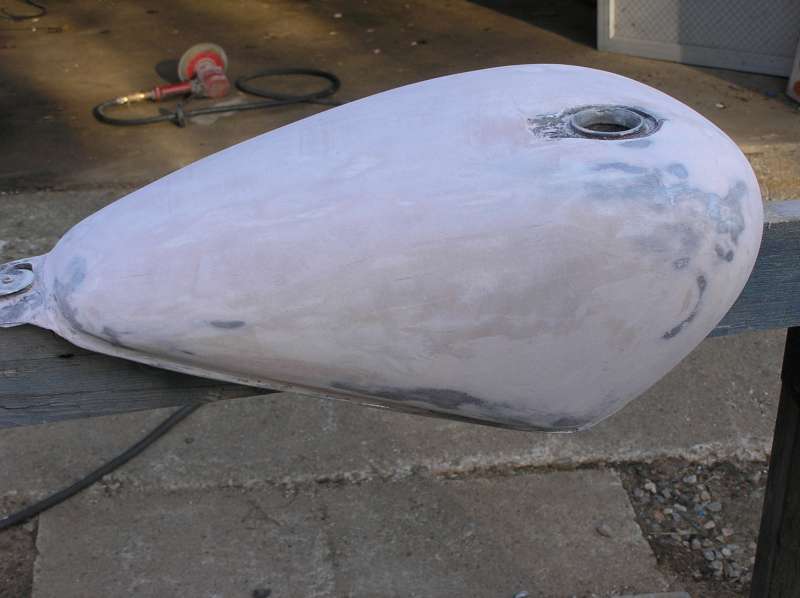
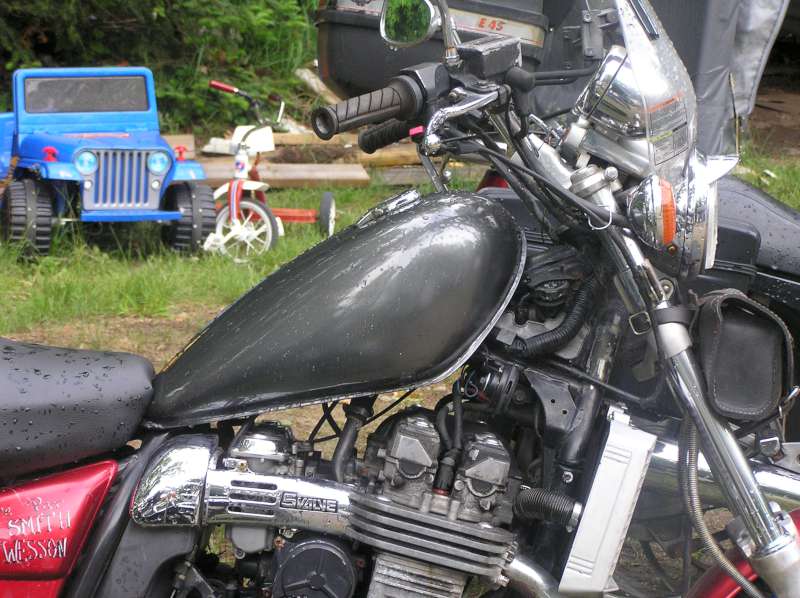
Total increase in width: 2-1/2". Should add approximately 2 litres to the capacity. tafn dv UPDATE: Here it is painted and mounted on the bike. No difference in profile:
But look at it from above: