PREPARATION FOR REMOVAL
1. Remove all dirt, mud, dust, and foreign material before removal and disassembly.
2. Use proper tools and cleaning equipment. Refer to CHAPTER 1, "SPECIAL TOOLS."
NOTE:
When disassembling the engine, keep mated parts together. This includes gears, cylinders, pistons, and other parts that have been "mated" through normal wear. Mated parts must be reused as an assembly or replaced.
3. During the engine disassembly, clean all parts and place them in trays in the order of disassembly. This will speed up assembly time and help assure that all parts are correctly reinstalled in the engine.
SEAT AND FUEL TANK
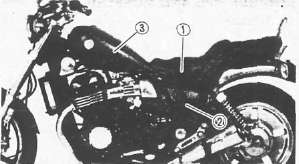
1. Remove:
• Seat 1
• Side cover 2
• Fuel tank 3
2. Drain the engine Oil
BATTERY
1. Disconnect the battery leads
NOTE:
Disconnect the negative lead first.
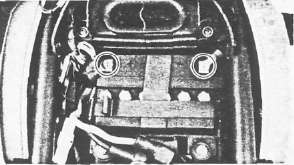
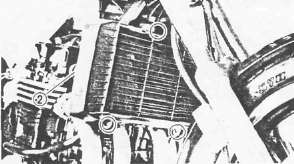
RADIATOR
1. Remove:
• Panel 1
• Radiator cap cover 2
• Radiator cap 3
2. Disconnect the electric fan motor lead 4
3. Drain:
• Coolant (in the radiator)
• Coolant (in the radiator pipe)
4. Disconnect:
• Radiator hose (Inlet) 1
• Radiator hose (Outlet) 2
5. Remove the radiator
CAUTION:
Do not bend or damage any of the radiator fins when removing the radiator from the motorcycle or when storing it.
EXHAUST PIPE AND MUFFLER
1. Remove the header nuts
2. Loosen the clamp bolts
3. Remove the exhaust header pipes 1
4. Remove:
• Chamber mount bolt 1
• Muffler mount bolts 2
• Mufflers with chamber
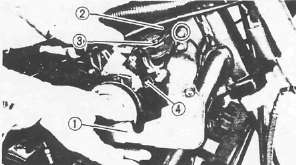
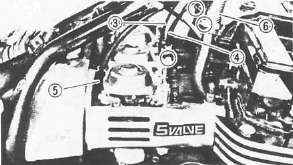
CARBURETOR AND CABLES
1. Remove:
• Air cleaner case 1 mount bolts.
• Side cover 2
2. Loosen the clamp screws
3. Push the air cleaner case toward the rear to disconnect air outlet hoses from carburetors.
4. Disconnect:
• Choke cable 1
• Throttle cables 2
• Clutch cable 3
5. Remove the carburetors
NOTE:
After removing the carburetors, cover the carburetors with a clean cloth to keep dust and dirt out.
6. Disconnect:
• Radiator hoses 4
• Crankcase ventilation hose
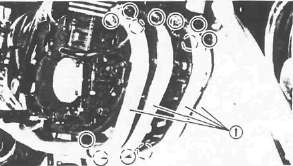
CONNECTOR
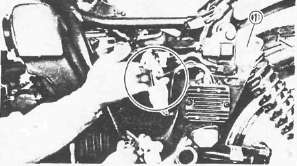
1. Remove panel 1
2. Disconnect:
• Pickup coil lead
• Generator lead
• Neutral switch lead
• Oil level switch lead
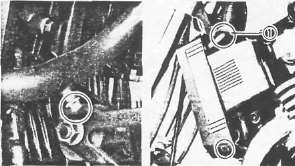
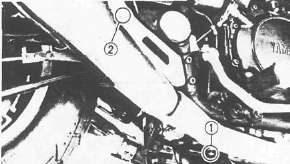
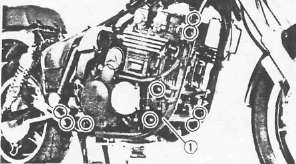
FOOTREST, BRAKE PEDAL, AND DRIVE SHAFT
1. Remove:
• Brake pedal
• Footrests (Left and Right)
2. Disconnect:
• Starter motor lead 1 (from starter motor)
• Rubber boot
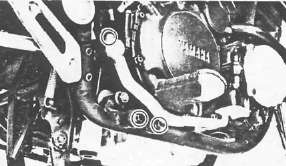
3. Remove the joint bolts
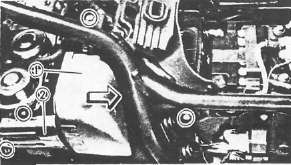
ENGINE REMOVAL
1. Place a suitable stand under the engine.
2. Remove:
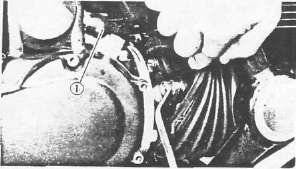
• Downtube frame 1
• Mount bolts
3. Remove the engine assembly from chassis right side.
Caution:
The engine is heavy, awkward and a tight fit. An assistant may be required to avoid dropping it.
There are many pinch points between the various parts of the engine and sections of the frame. Take care to avoid injury.
NOTE: If it is necessary to remove the engine without assistance, it may be worthwhile to lay the bike on it's right side and lift the frame off the bike. Take care to avoid damage to such pieces as mirrors, levers and chrome.
- Printer-friendly version
- Log in to post comments