Charging System
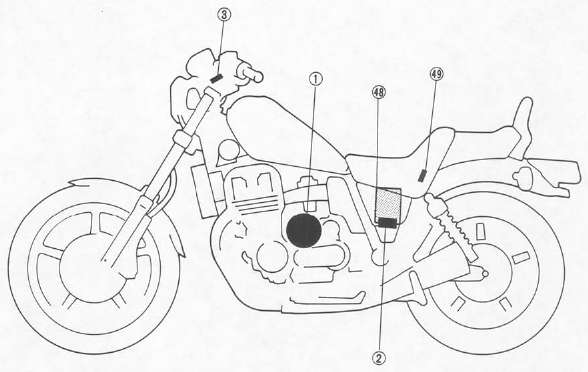
CHARGING SYSTEM

1 A.C. Generator
2 Rectifier/Regulator
3 Main switch
48 Battery
49 Fuse "MAIN" (30A)
- Read more about Charging System
- Log in to post comments
CHARGING SYSTEM
1 A.C. Generator
2 Rectifier/Regulator
3 Main switch
48 Battery
49 Fuse "MAIN" (30A)
PREPARATION FOR REMOVAL

1. Remove all dirt, mud, dust, and foreign material before removal and disassembly.
2. Use proper tools and cleaning equipment. Refer to CHAPTER 1, "SPECIAL TOOLS."
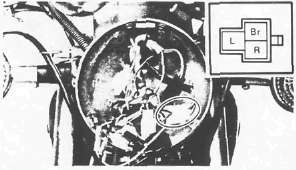
SWITCHES
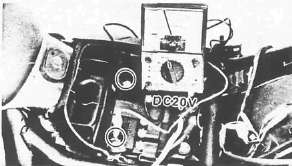
Use Pocket Tester (90890-03112) on "Ohm x 1" scale to check the switches. Replace any "shorted" or opened element.
Main Switch
|
Switch position |
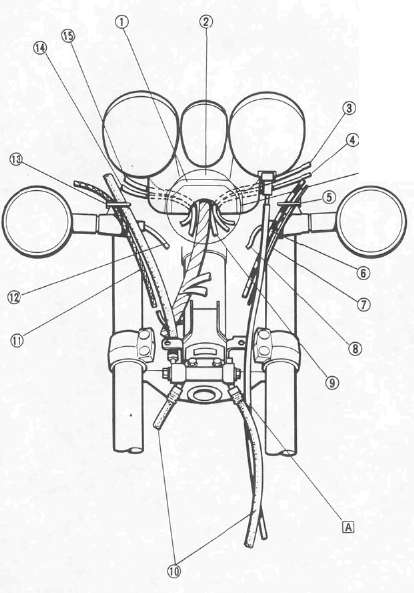
CABLE ROUTING (1)
1. Measure fuel level. Adjust if out of specification.
Measurement steps:
• Place the motorcycle on a level surface.
• Shim the center stand as required to level from side to side using a level across the carb bank
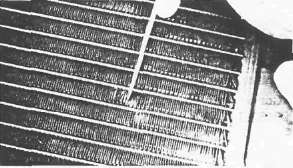
REMOVAL
1. Drain coolant
2. Remove radiator assembly
Refer to CHAPTER 3 "ENGINE REMOVAL".
INSPECTION
INSTALLATION
1. Install carburetors: Reverse the removal steps.
Yeah, right...
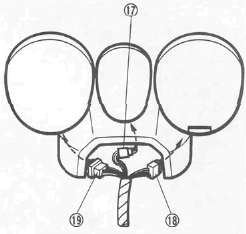
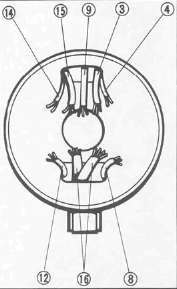
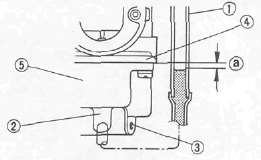
Maxim X Carburetor Installation
A Technique for reinstalling old hardened intake boots. (Note: This will probably not work on other models with long boots)
This is not a Yamaha procedure. It was developed by Joe D. HAP and dv
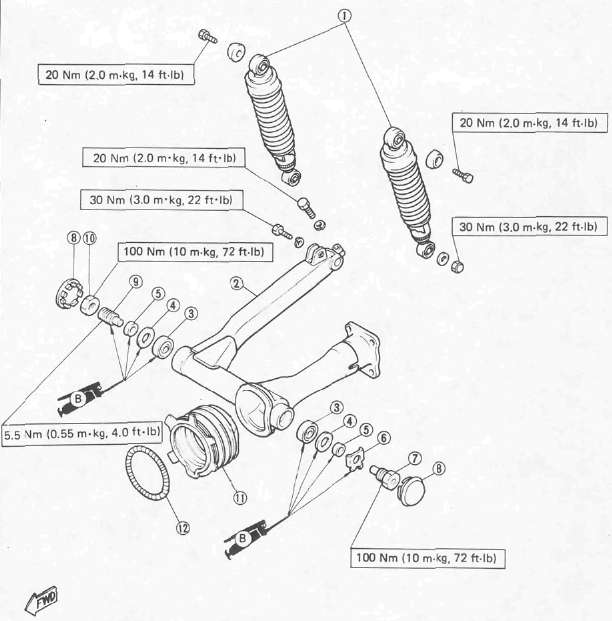
SWINGARM AND REAR SHOCK ABSORBER
1 Rear shock absorber
2 Swingarm
3 Bearing
4 Oil seal
5 Collar
6 Lock washer
7 Left pivot shaft
8 Pivot cover
9 Right pivot shaft
10 Nut
11 Rubber boot
12 Spring band
SHAFT DRIVE
Refer to "CHAPTER 3". for the middle gear.
The following special tools are not available but can be constructed for the final gear disassembly and assembly: